Encoders#
Encoders are rotary position sensors, used for measuring motor/actuator rotor angle with respect to the stator. Encoders can be either incremental or absolute - MD only work with selected absolute encoders.
MD motor controllers can work with up to 2 rotary position encoders at a time. There are two roles, the encoder can have:
Main Encoder - used for motor commutation and motion control by default,
Auxiliary (Aux) Encoder - used mostly getting absolute actuator position (after gearbox), optionally can be used for motion control, or not used by driver (can be read via register by host).
Main Encoder is required for operation. The MD does not currently support sensorless control mode.
Supported Encoders#
Encoder type |
Supported Role |
Notes |
|---|---|---|
|
Main / Aux |
Mounted on every MD |
Main / Aux |
Present in some of MA-x actuators |
|
Aux |
Present in some of MA-x actuators |
|
Main / Aux |
High precision position sensor. Present in some of MA-x actuators, mainly hollow shaft (HS) series. |
|
|
Aux |
Present in some of the CubeMars actuators |
Main / Aux |
High precision position sensor variant. Present in some MA-x actuators |
|
|
Main / Aux |
- |
|
Aux |
- |
Note
Custom encoder support.
If you would like to use specific position sensor that is not currently supported, we are open to introducing
it to MD Ecosystem. Please contact us at: contact@mabrobotics.pl.
Onboard Encoder#
Each MD unit, features a 14-bit absolute encoder on the PCB. The Encoder is mounted on the bottom layer in the middle of the driver - in the center point of all mounting holes. This allows for mounting the driver right behind the motor, creating a compact and power-dense actuator with minimal moving parts.
Auxiliary (Aux) Encoders#
If actuator has a gearbox, Main encoder (measuring motors’ rotor angle) cannot determine output shaft position on startup. This is where Aux Encoder can be used to supplement the driver with absolute angle measurement after gearbox. Thanks to this, the actuators can keep track of its position between startups, which is especially useful while starting up mobile robots.
ME-am#
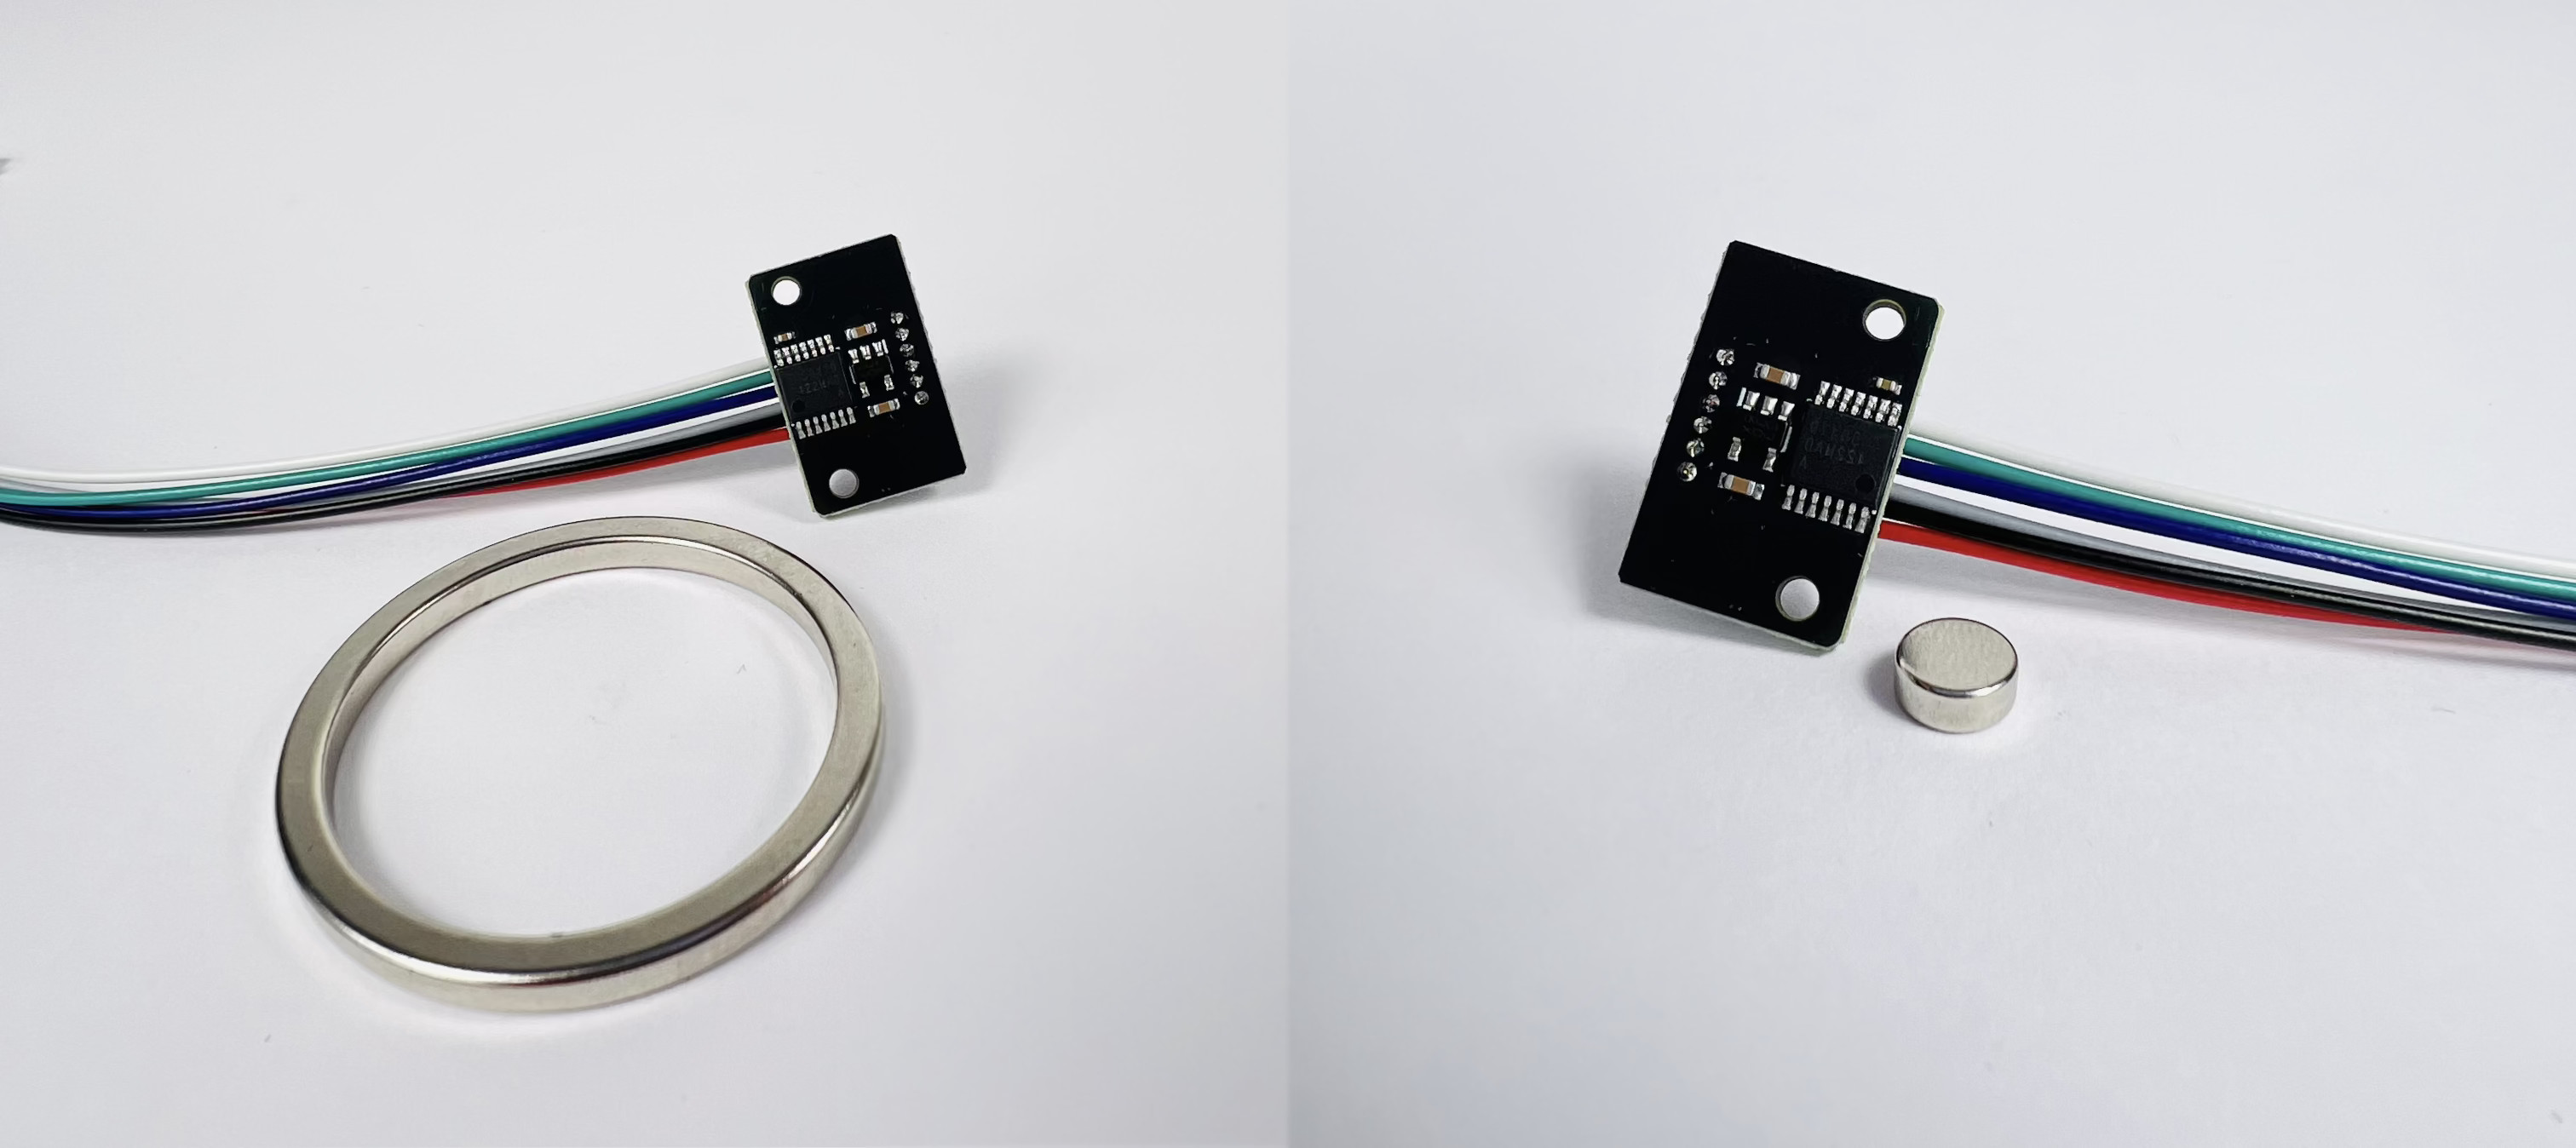
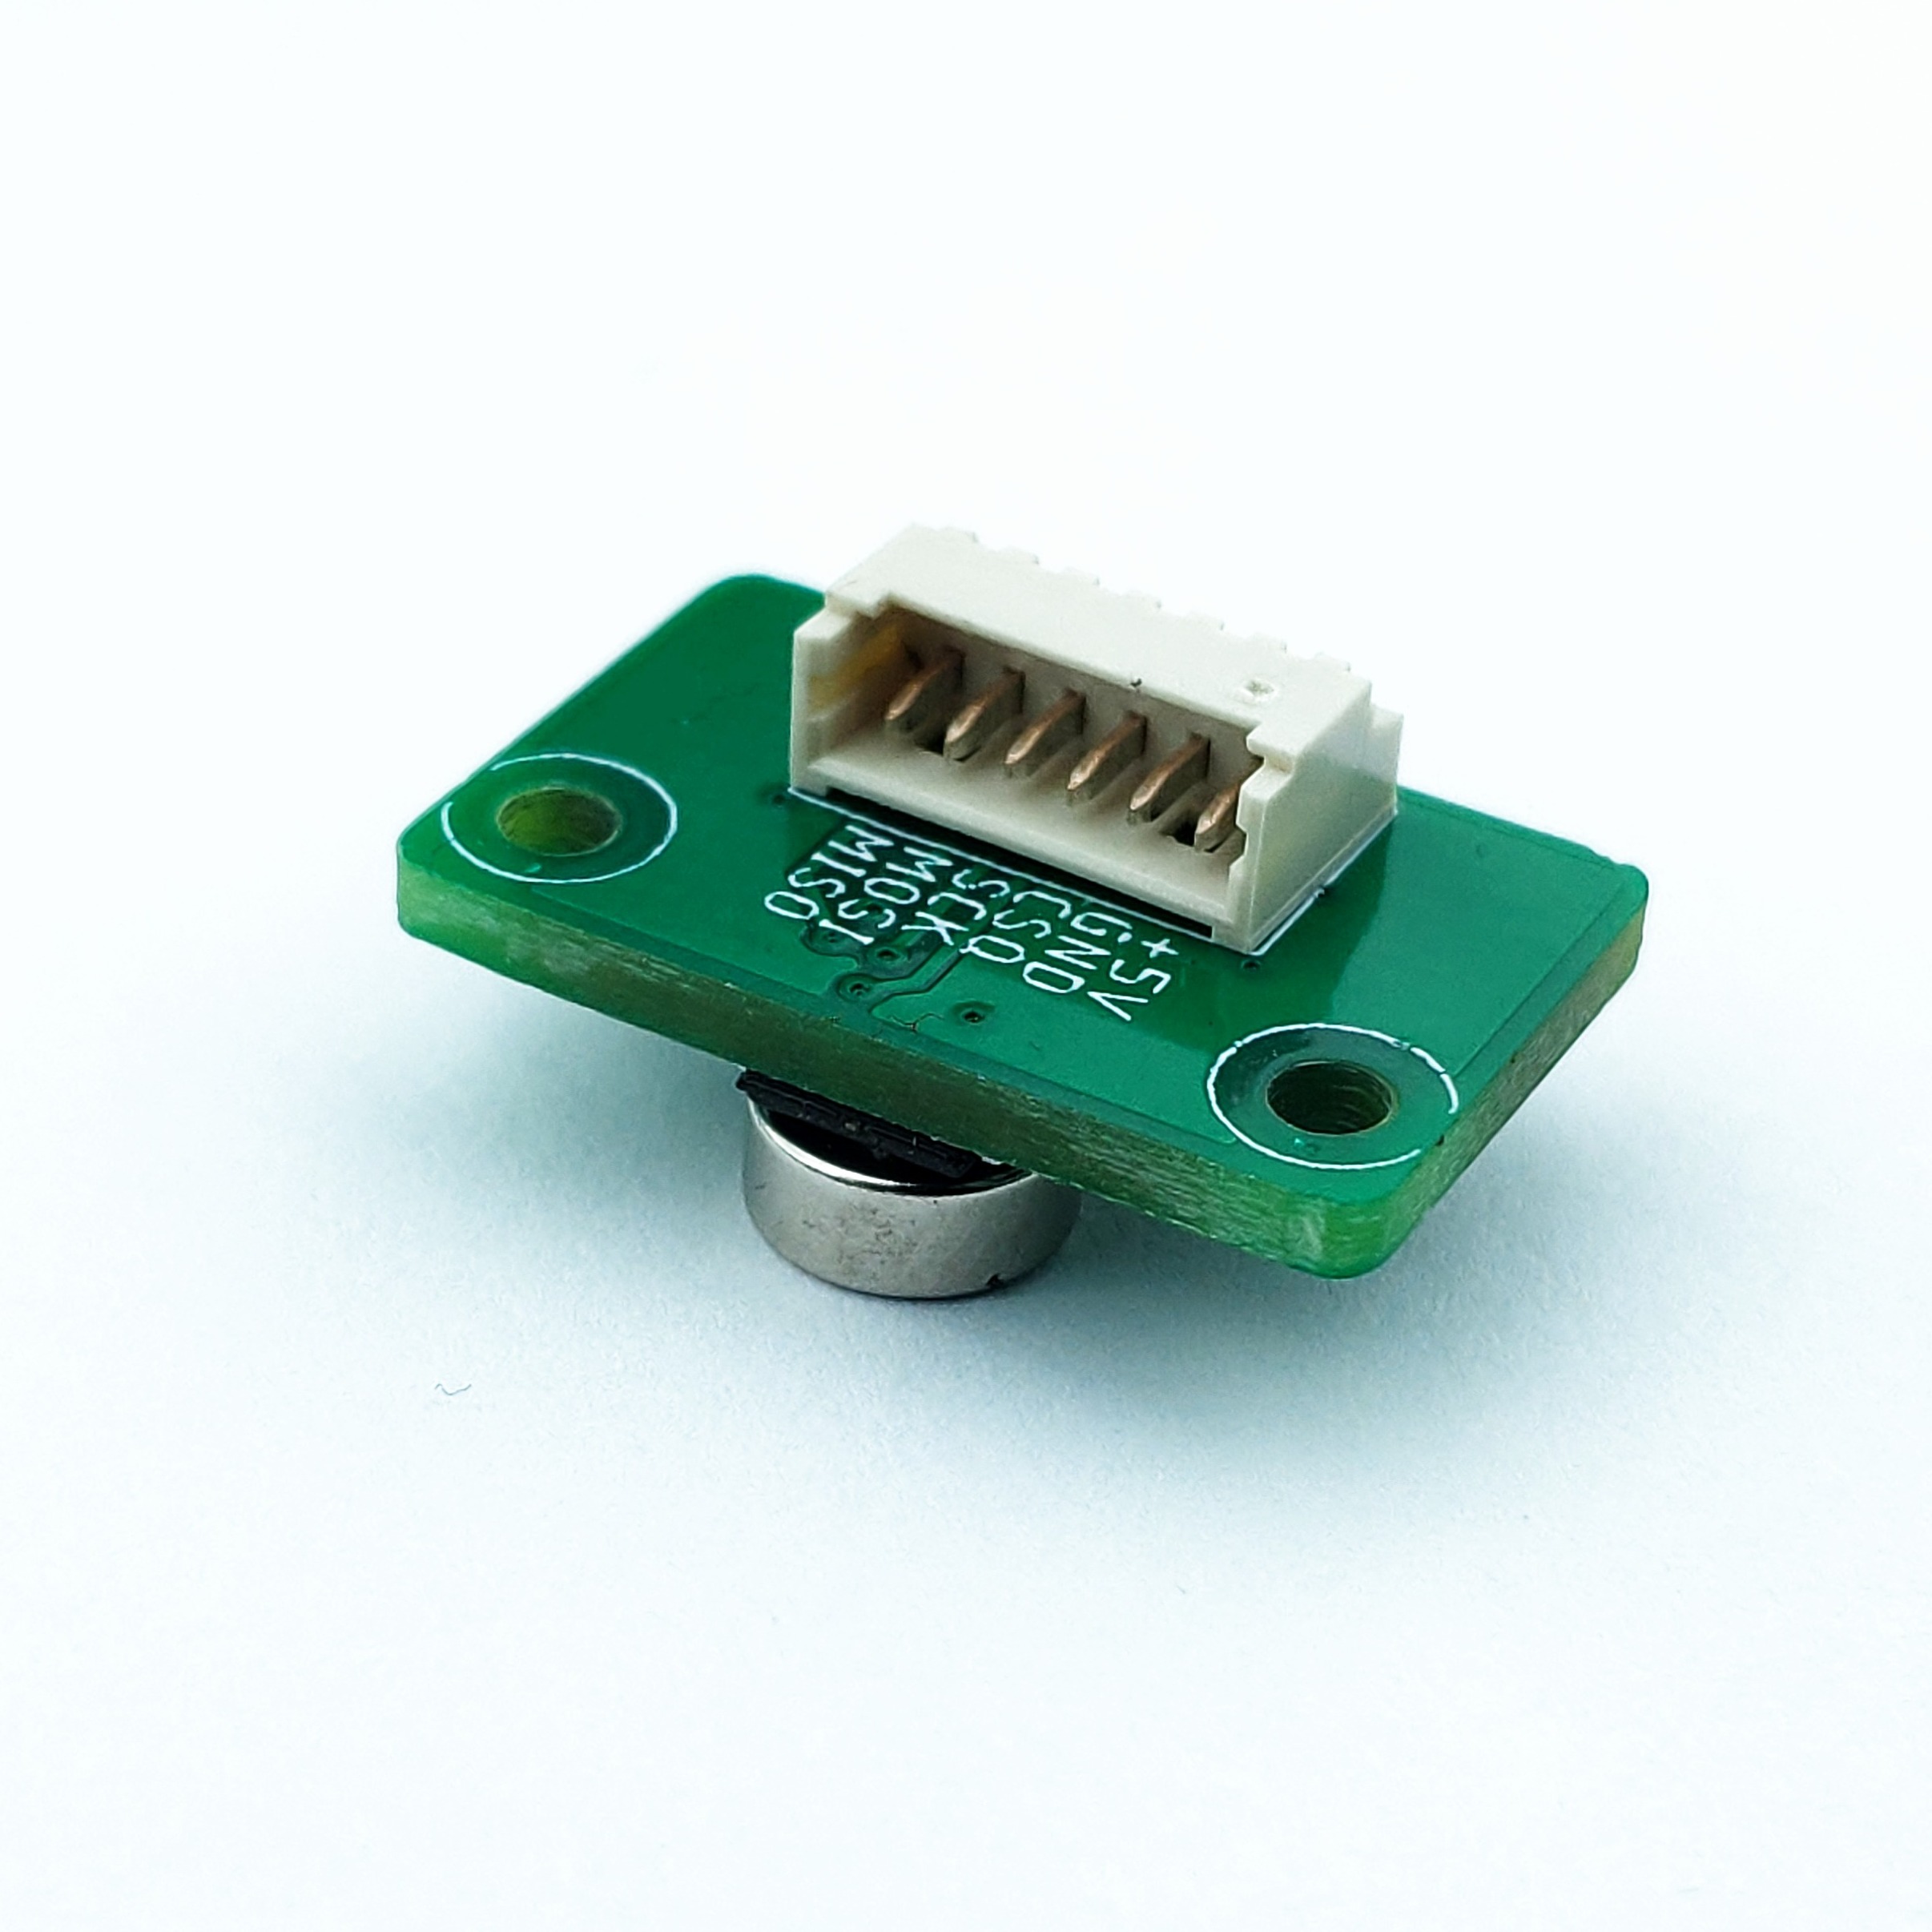
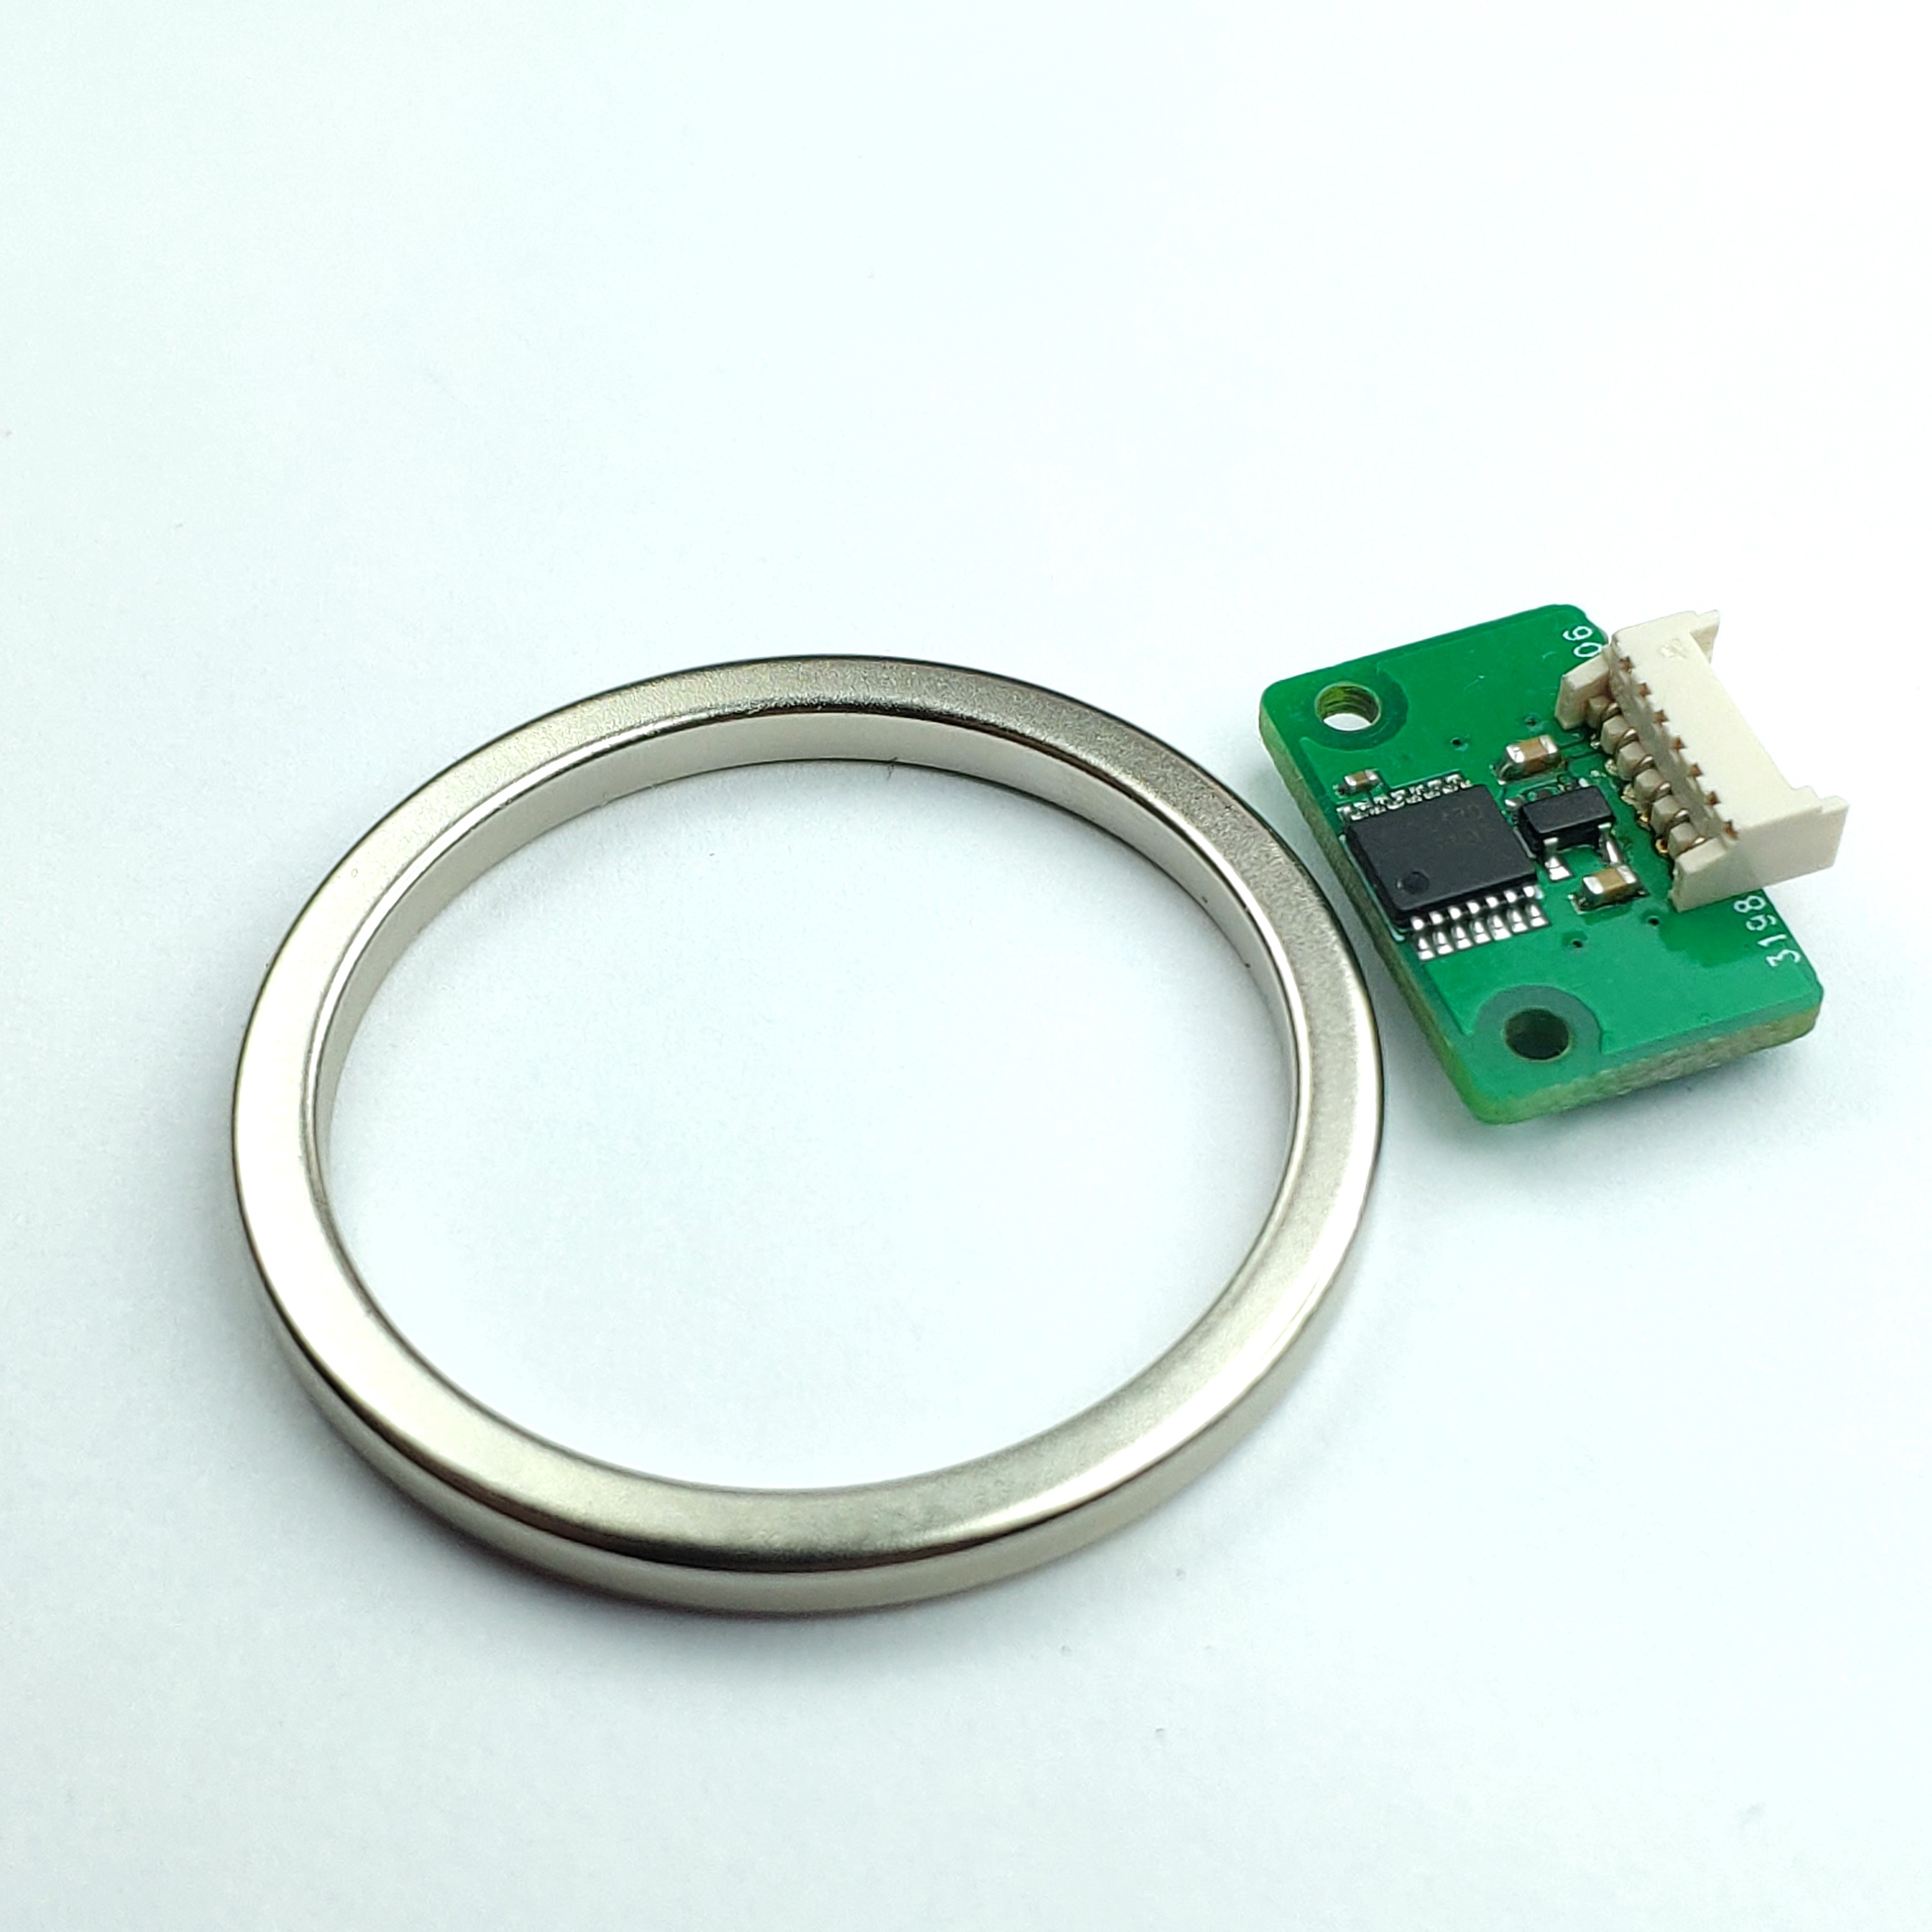
ME-am is a simple, reliable and cost-effective solution for adding additional position sensor to MD based actuators. ME-am can work in one of two placement configurations:
ME-am placed axially on the output shaft with a regular diametrically magnetized magnet
ME-am placed non-axially together with a diametrically magnetized ring magnet
Note
ME-am encoder can be connected to MD20 and MD80 using AUX1 (6-pin) connector.
CM encoder#
MD drivers can also work with encoders supplied in many CubeMars actuators (such as AK10-9). These encoders are usually already mounted inside of the actuator. These encoders are perfectly fine to determine actuator on startup, but due to their noisy nature, are not recommended to be used for motion control.
Note
CM encoder can be connected to MD20 and MD80 using AUX1 (6-pin) connector.
RLS Precision Encoders#
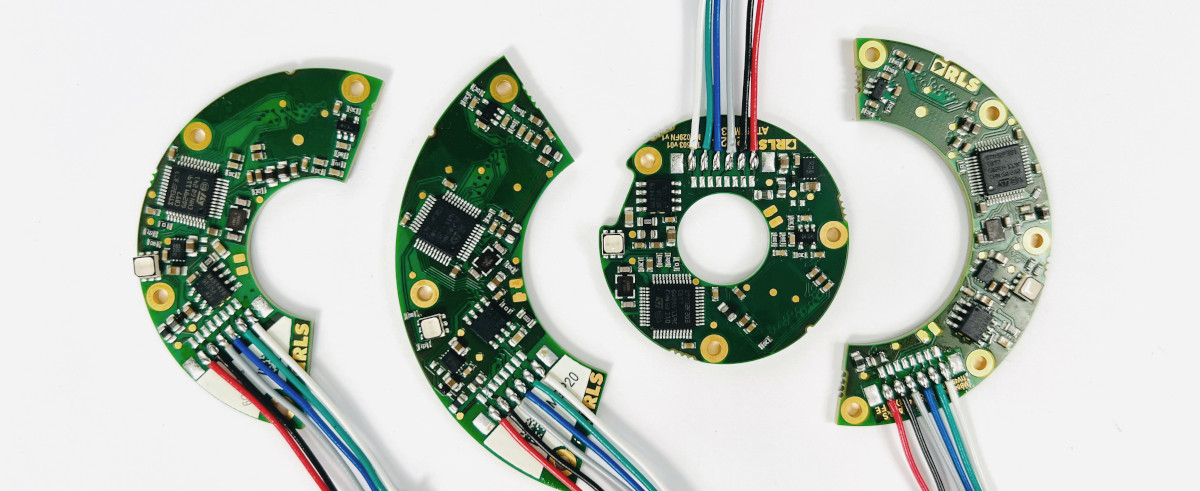
While Onboard and ME-am encoders provide sufficient precision for most general-purpose applications, there are situations where high-precision, through hole (hollow shaft) encoder is required. For those cases we worked together with RLS to provide easy way to connect MD to a few of RLS encoders We support RLS AksIM2 and RLS Orbis with RS-422 interface with the sizes ranging from 22 to 80mm.
Warning
RLS AksIM2 and Orbis with RS-422 interface can be connected to MD20 and MD80 using AUX2 (10-pin) connector.
RS-422 is on-demand feature of MD drivers, and by default it is not available
on the board.
Contact MAB Robotics support at support@mabrobotics.pl, for more information.
This connector and RS-422 interface are shared with the external torque sensor - only one RS-422 device can be connected at a time.
For mechanical assembly instructions, please refer to the RLS documentation. For connecting RLS RS422 based encoders to MD in custom application, please refer this instruction.
Aux Encoder Modes#
With Aux encoder connected, MD can use its data in a few different ways. For most applications, where the encoder is used to determine absolute position of the shaft after a gearbox, STARTUP mode is the most suitable.
Encoder Mode |
Description |
|---|---|
|
Initial position from aux encoder, report main encoder values, motion based on main encoder. |
|
Initial position from aux encoder, report aux encoder values, motion based on aux encoder. |
|
Initial position from aux encoder, report aux encoder values, motion based on main encoder. Calibration of the aux encoder is impossible. |
|
Position from aux encoder, is mapped as main encoder, and used for both control and commutation. Note: This is only applicable for drivers with firmware 2.x.x. For v3.0.0+ firmware, the main/aux encoder is set though |
Warning
The non-axial configuration outputs a nonlinear position values. This means it requires a full calibration (your setup should be able to rotate by at least one full rotation), and in case of the report mode it will output nonlinear position and velocity readings that will have to be compensated in the host’s software
Not all modes are recommended for every encoder. The off-axis placed CM or ME-am encoder is inherently more noisy and less accurate and thus we recommend using it only in STARTUP mode. Please refer to the table below:
Encoder type |
Supported modes |
Recommended |
|---|---|---|
|
|
|
|
|
|
ALL |
ALL |
|
|
|
Only off-axis configuration is supported. |
ALL |
ALL |
|
|
ALL |
ALL |
|
|
|
ME-am - Mechanical mounting#
How to add an encoder to the driver setup:
make sure the encoder sensor is placed correctly:
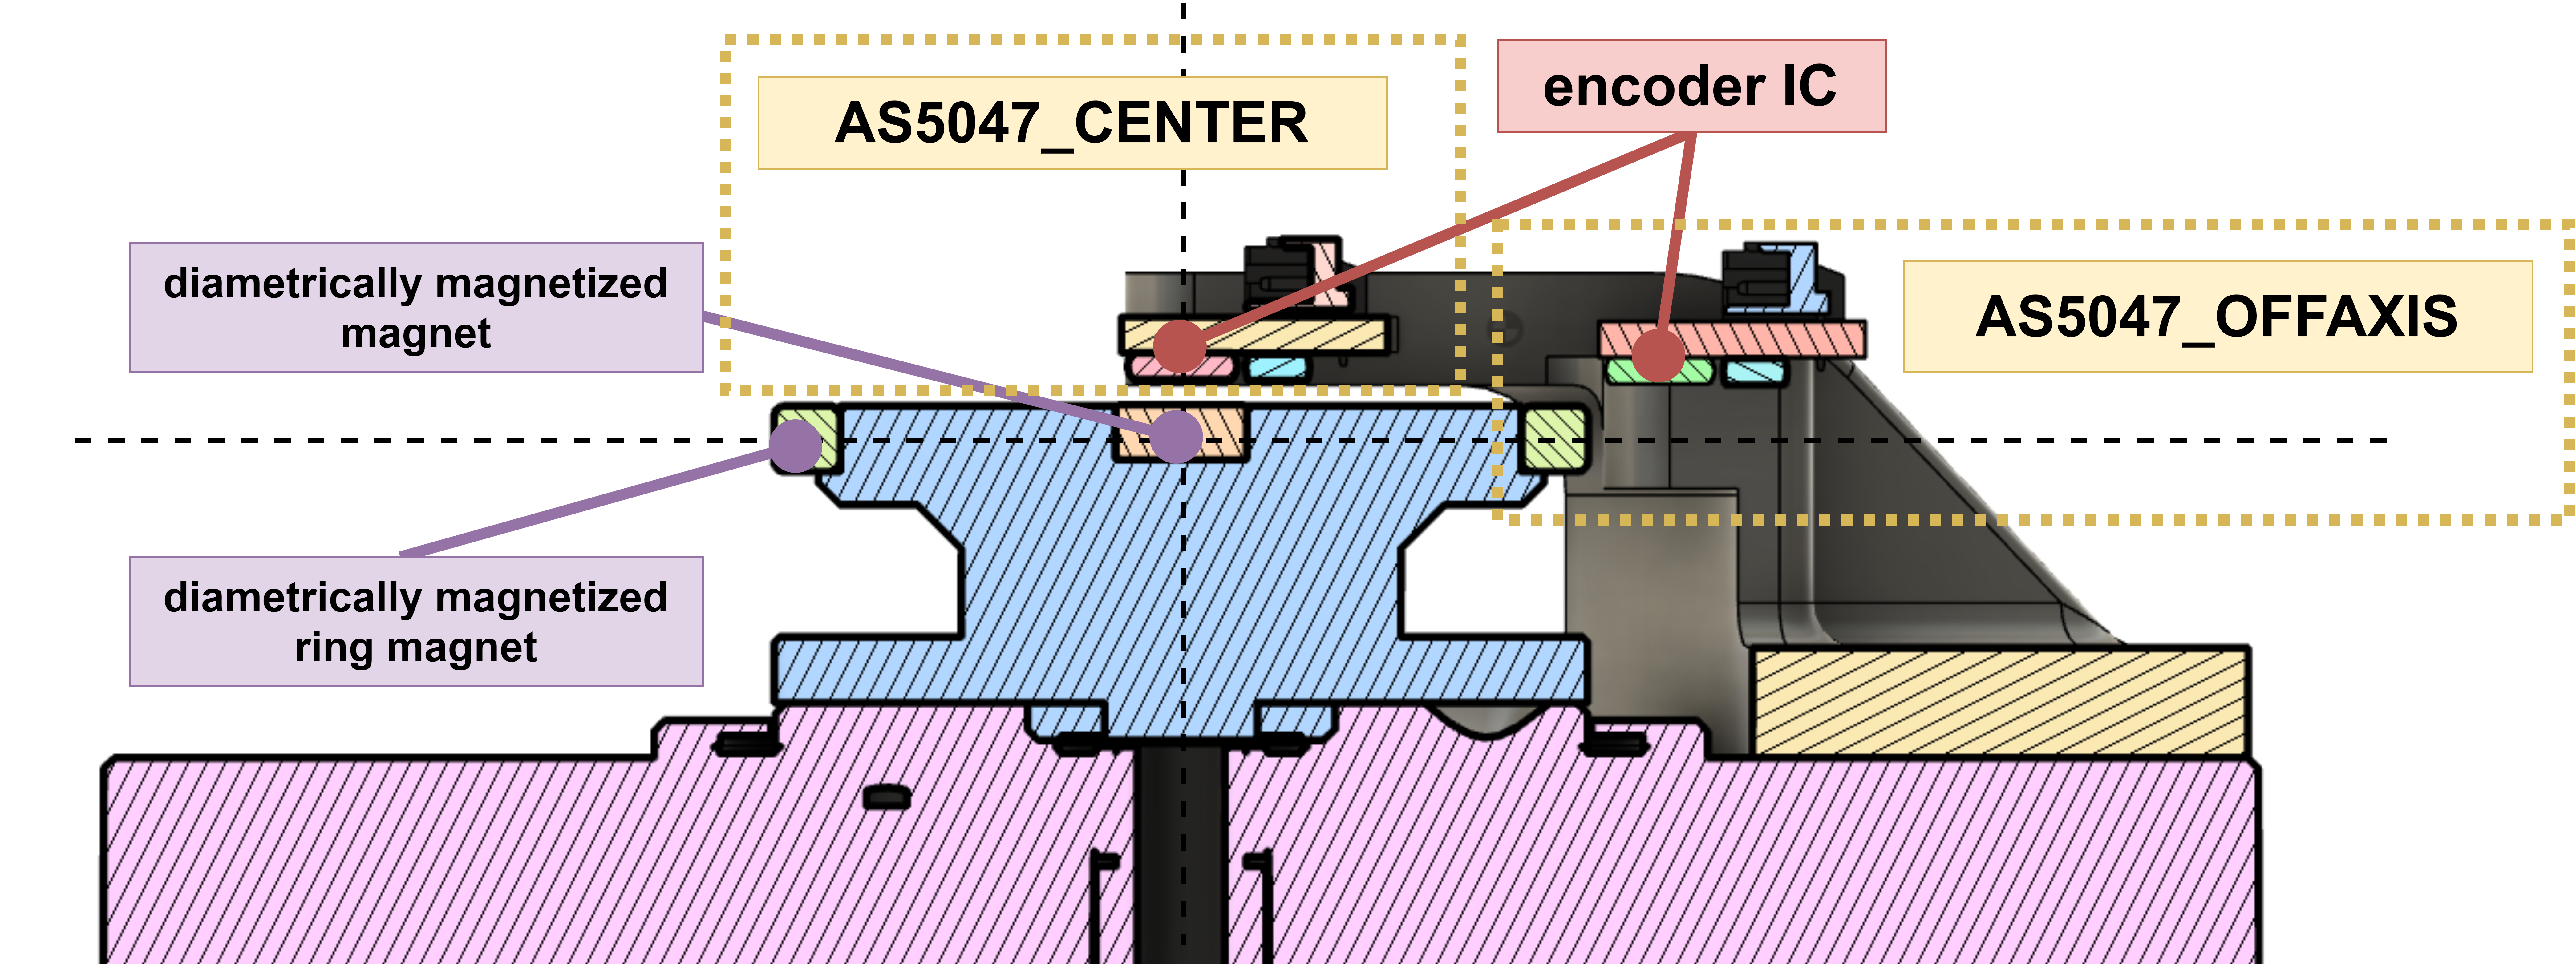
in case of axially placed sensors make sure they are placed in center at correct height above the magnet (1 mm is usually optimal),
in case of non-axial configuration make sure the magnet is close to the ring magnet (<0.5mm) and the sensor IC is at least 2mm above or below the ring magnet horizontal plane.
Connect the MD with the encoder using a picoblade series cable assembly and connect power to the MD,
Modify the motor config file, or directly access registers, according to your setup and save it to the MD,
Calibrate the MD using
candletool md calibrationcommand,(if applicable) Calibrate the output encoder using
candletool md calibration -e auxcommandTest the encoders using
candletool test encodercommand.Use the
candletool md infocommand to make sure there are no errors and the test results (min, max and stddev errors) are within your expectations.The external encoder is ready to use!
Warning
Most of the auxialary encoder require sum-millimeter mounting for conitnous and reliable operation. It is recommended to use CNC-machined mounting brackets for attaching the encoder. 3D printed enclosures often do not provide sufficient precision and stiffnes (especially after heating up), and can lead to more noisy and reliable readings.